Jun 14, 2024
How to Create a Custom DIY Bleach Shirt. Full Process.

I’m excited to share all my tips and tricks for creating this custom DIY Bleach Stenciled shirt. Let’s get into it!
Step 1: Measure Your Shirt
Grab a ruler or measuring tape and measure your shirt. I go from top-to-bottom and side-to-side. This step is crucial to ensure your design fits perfectly on your shirt.
Step 2: Design the Pattern
I start by creating just one-fourth of the design and then in Illustrator I flip the design, then flip it over again. This creates a pattern tile, which will allow you to create an infinite graphic pattern. Once you’re happy with your design, throw it into a mockup in Photoshop to get a rough idea of how it will look. Remember, it’s important to get your ideas out quickly to keep your creative momentum and flow going.
Step 3: Scale the Design
Once satisfied with how the design looks in context, use the measurements you took earlier to re-scale your design and t-shirt mockup in Illustrator. This will let you know exactly what size you'll need to print it out as. My design looked good at 20x20” for a medium shirt, so I sized it up to 22x22 inches to ensure it also looks good on larger sizes too.
Step 4: Print Out the Design
Print out your design to scale using the tile-imagable-areas technique. This will let you print out large-format designs even on regular-size printers. Make sure you trim off the excess margins your printer leaves and stitch everything back together using some tape.
Step 5: Assemble the Stencil
When using bleach, you either want to use super heavyweight paper or ideally something waterproof. Originally, I used watercolor paper, but that totally flopped! I had to recreate the stencil. I ended up using a plastic film material instead, which was thin but didn’t absorb any liquid, making it very durable in this case. If you’re only planning on making a one-of-one, then you probably don’t need to worry about this.
Step 6: Prepare for Bleaching
I recommend doing this outside with nitrile gloves, eye protection, and a mask if possible. Inhaling bleach spray is not the move! I used a 50/50 mix of bleach and water in a chemical-resistant spray bottle—this is key. I also highly recommend placing a piece of cardboard inside the shirt to prevent bleach from seeping through to the other side. It also adds some stability to the shirt, making it easier to move around and handle.
Step 7: Apply the Stencil and Bleach
First, make sure your shirt is as flat as possible and you pat down any wrinkles and folds. Check your mockup and line up your stencil accordingly. Getting the spray down is tricky, but this is where all the fun is! I recommend being at least one foot away and doing really light passes. Make sure to also mask out any open areas of your stencil to prevent overspray.
Step 8: Final Touches
After each application, I used an old cloth to absorb any bleach from the top of the stencil so it wouldn’t drip down onto the shirt. Be careful with this! After that, I let it dry out in the sun. This helps the bleach evaporate and activate much faster!
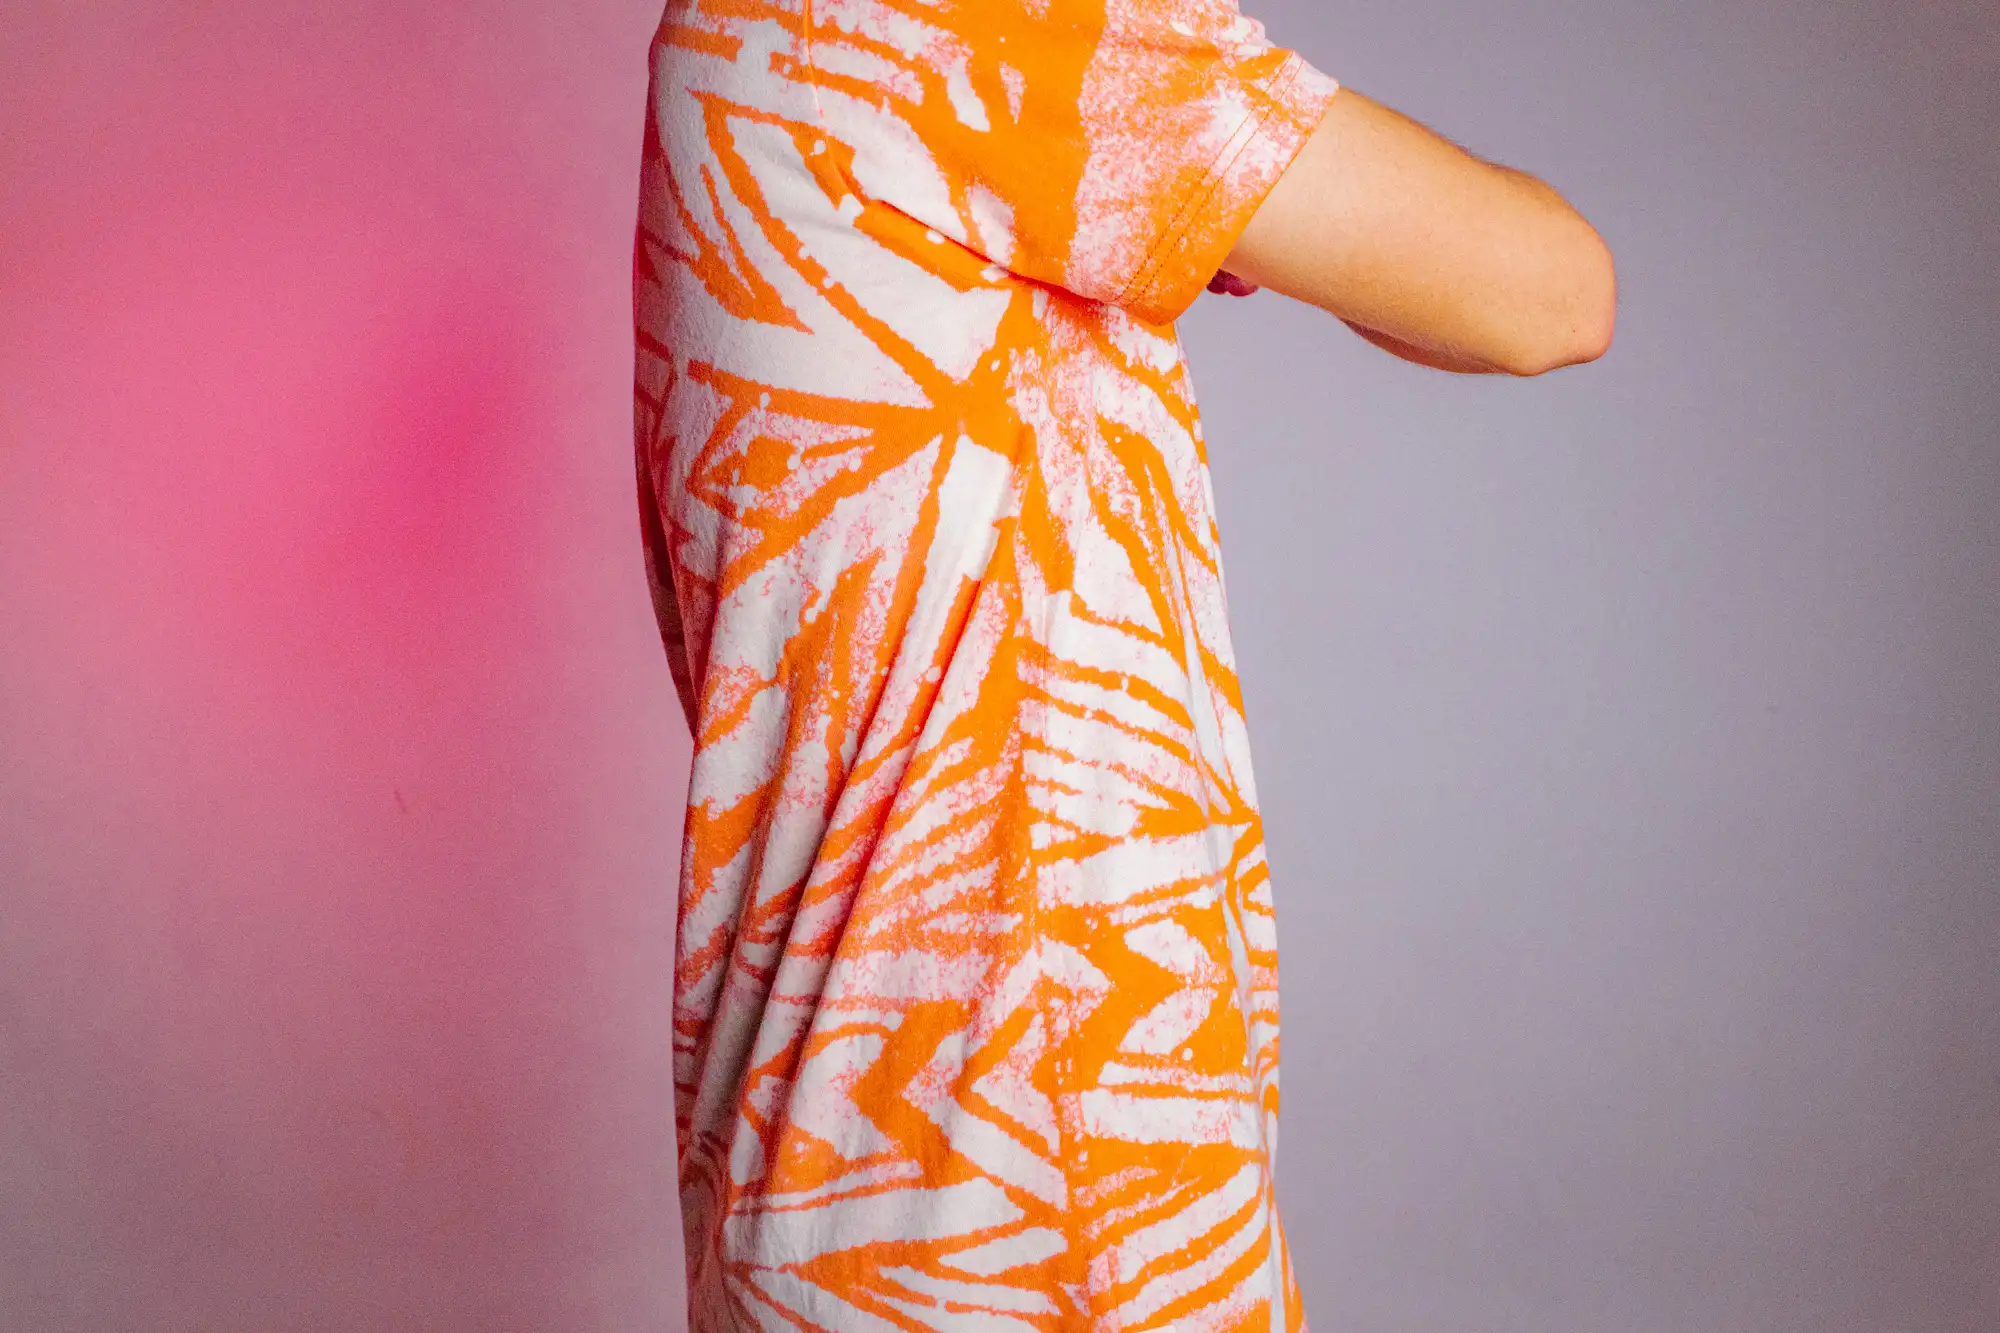
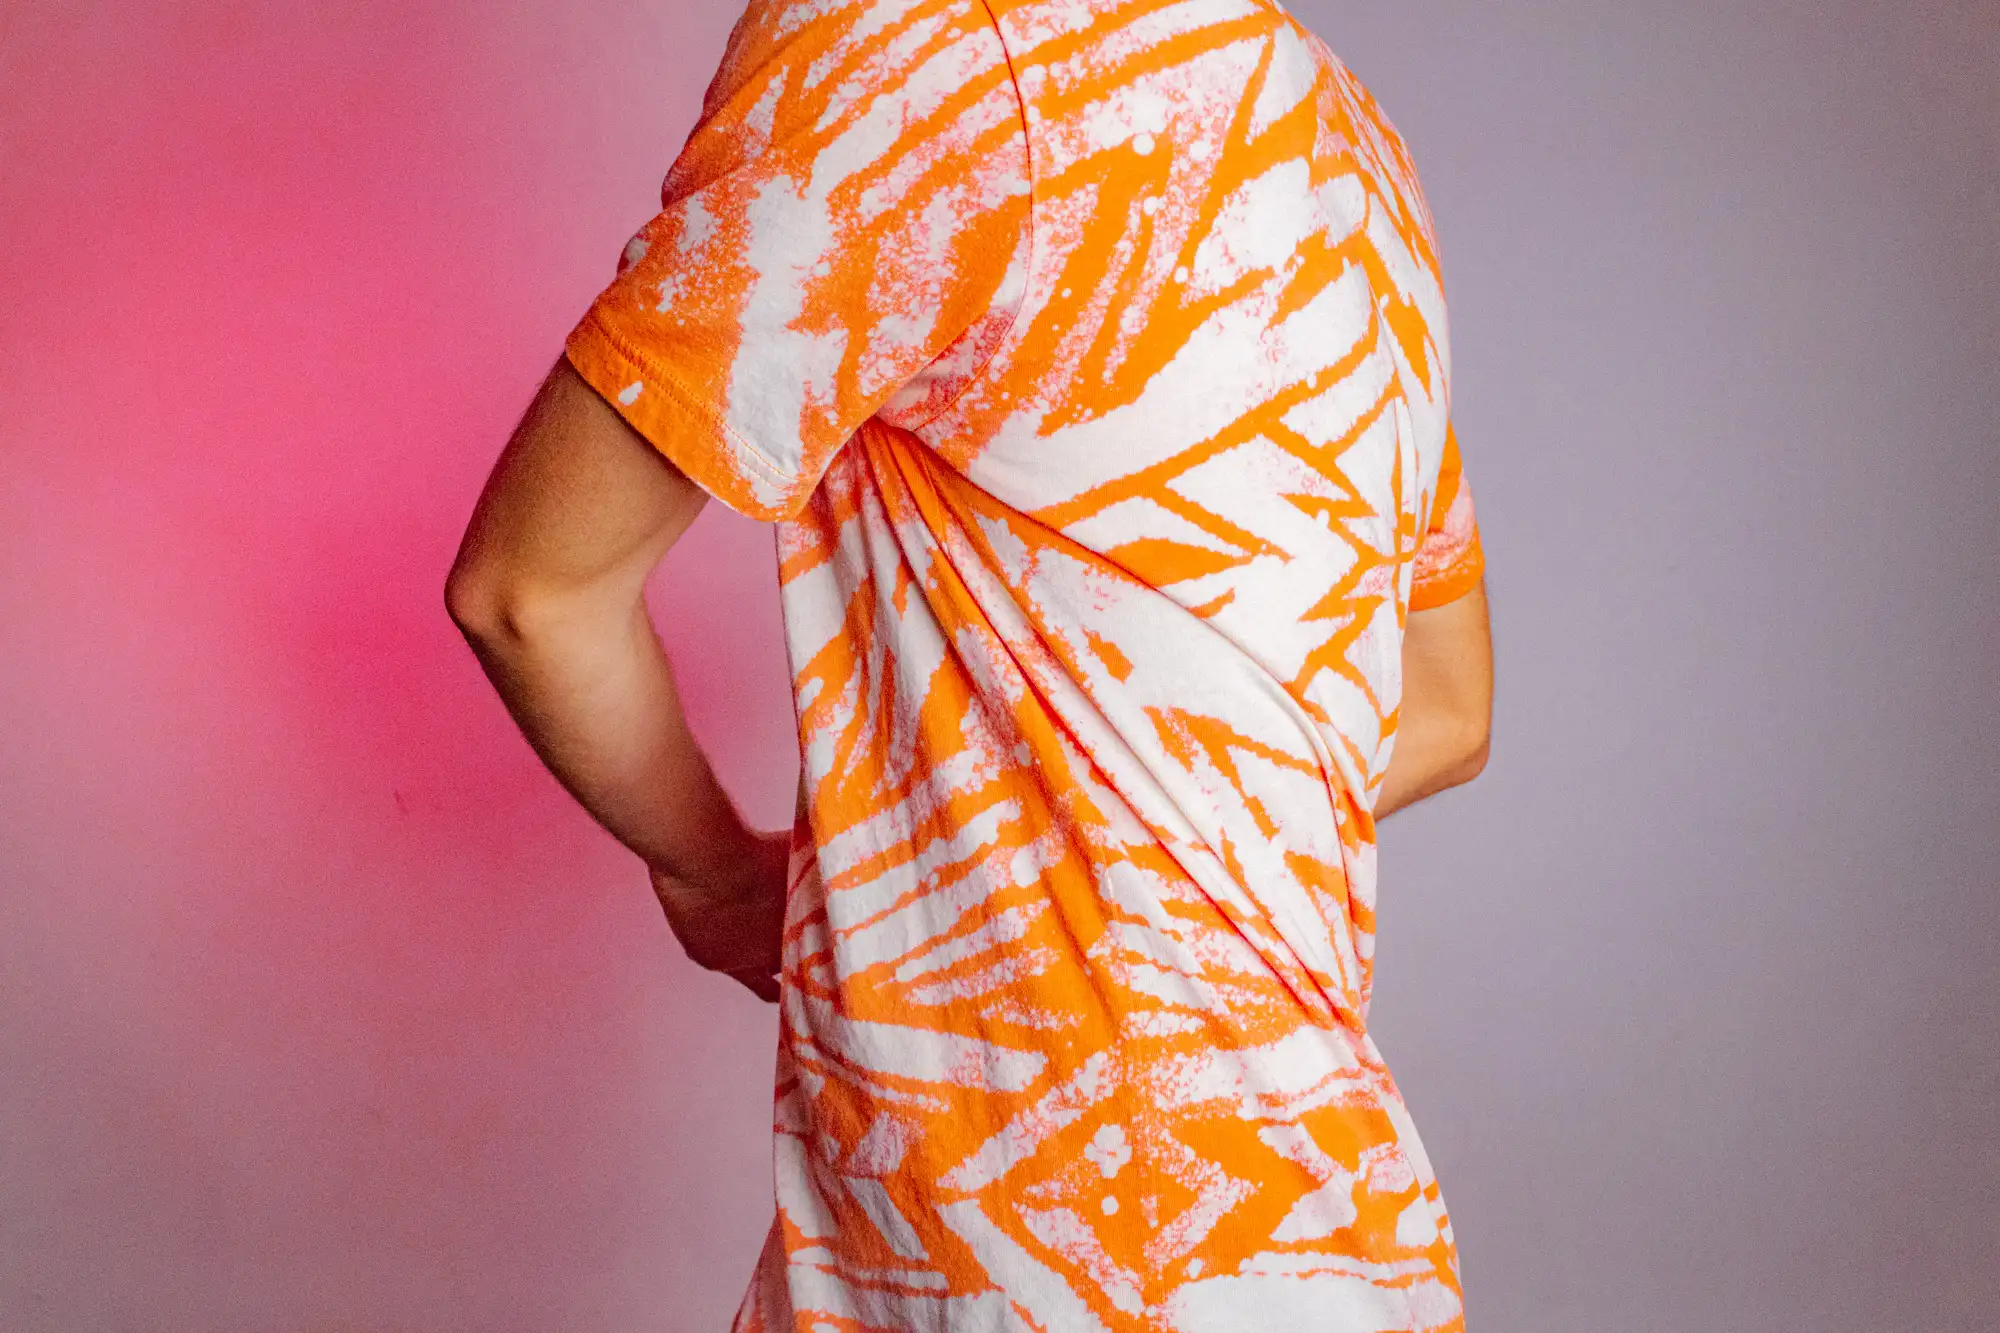
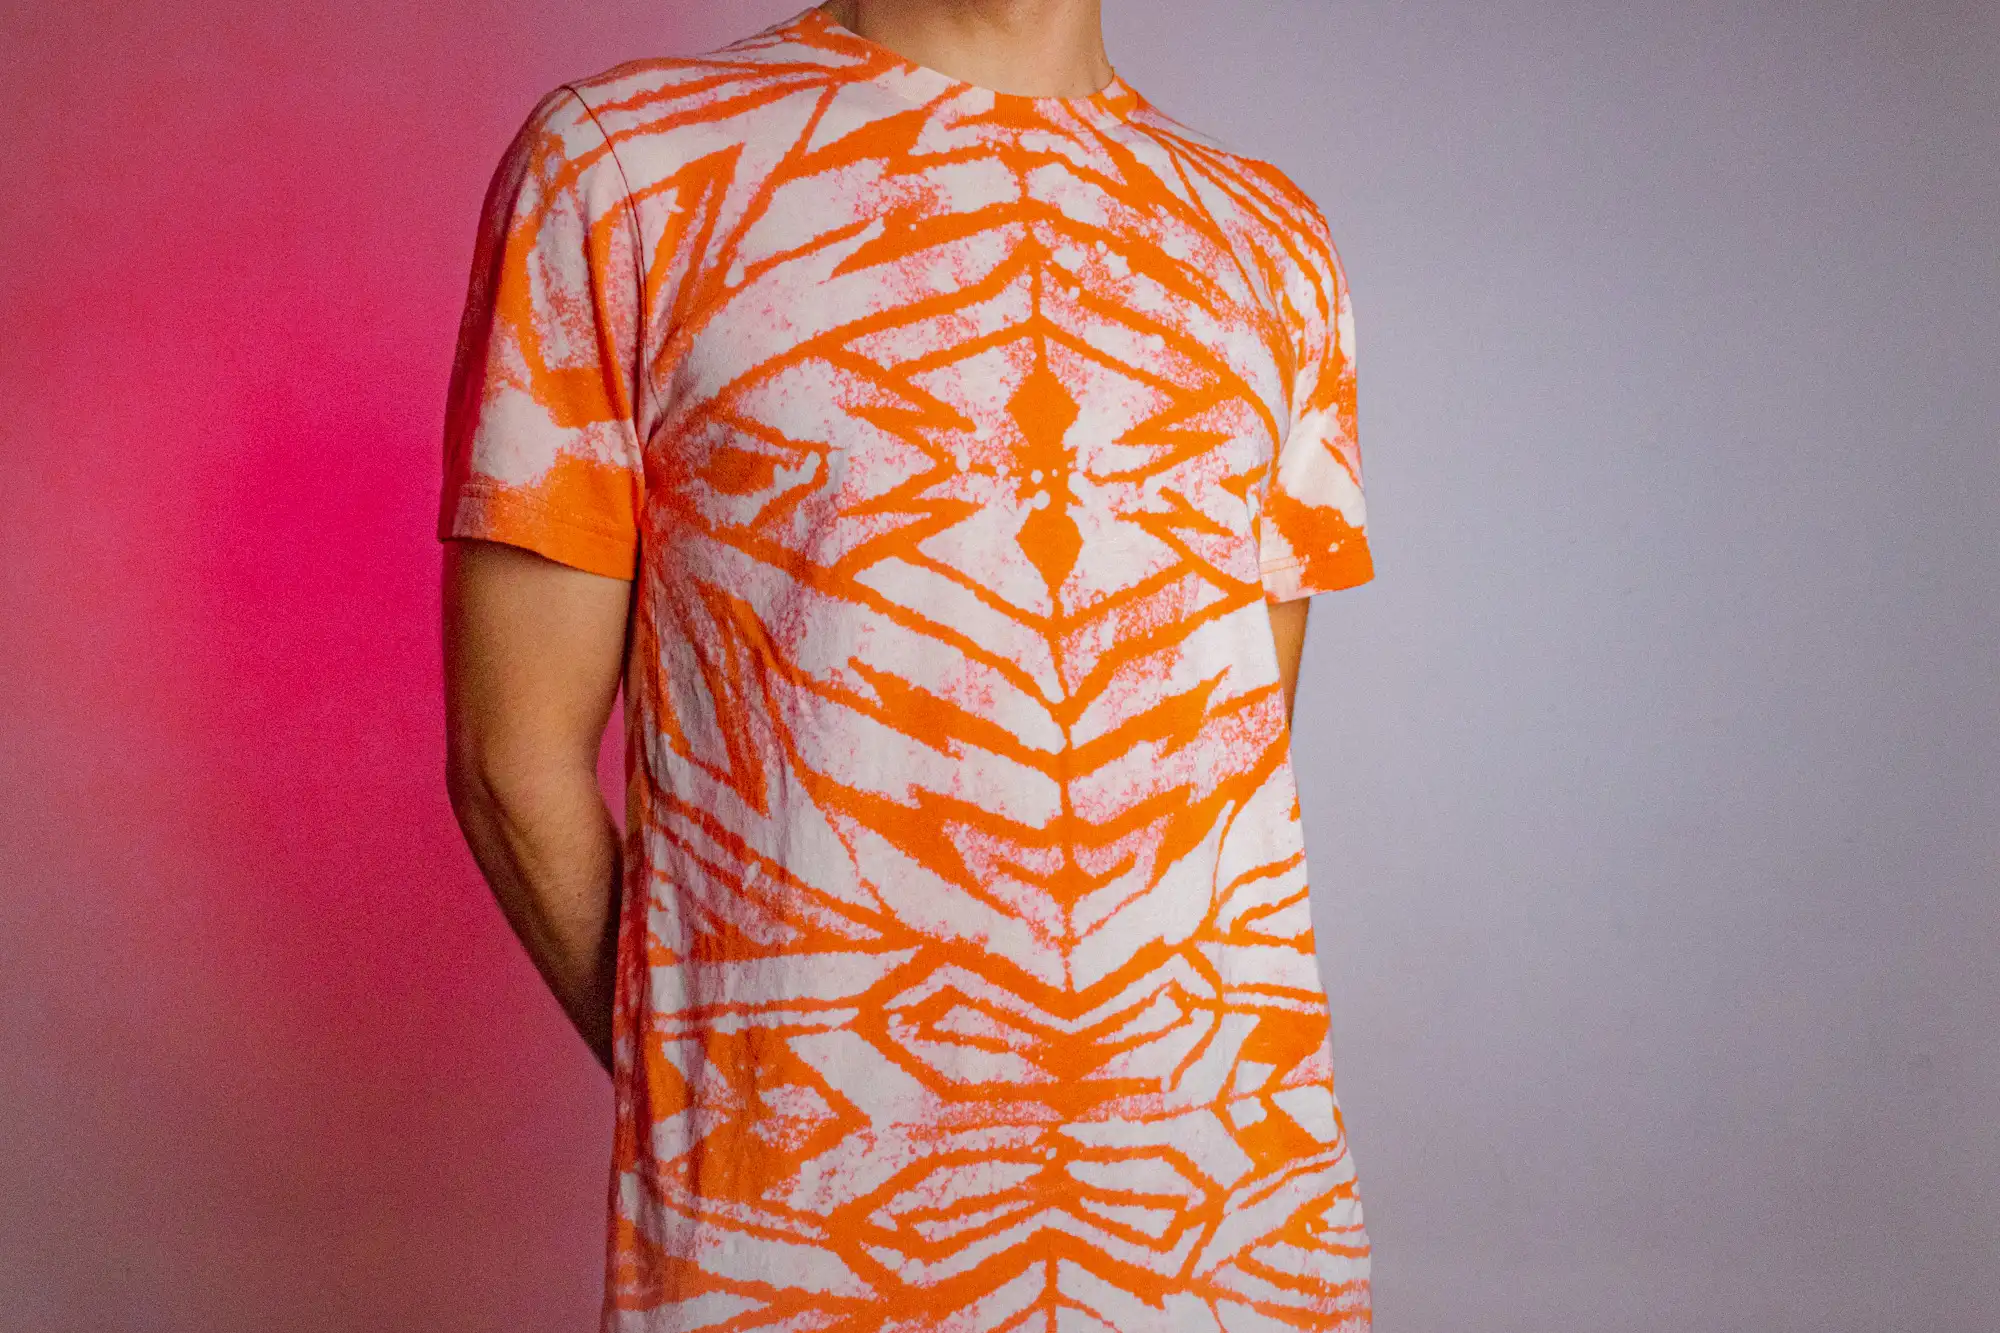
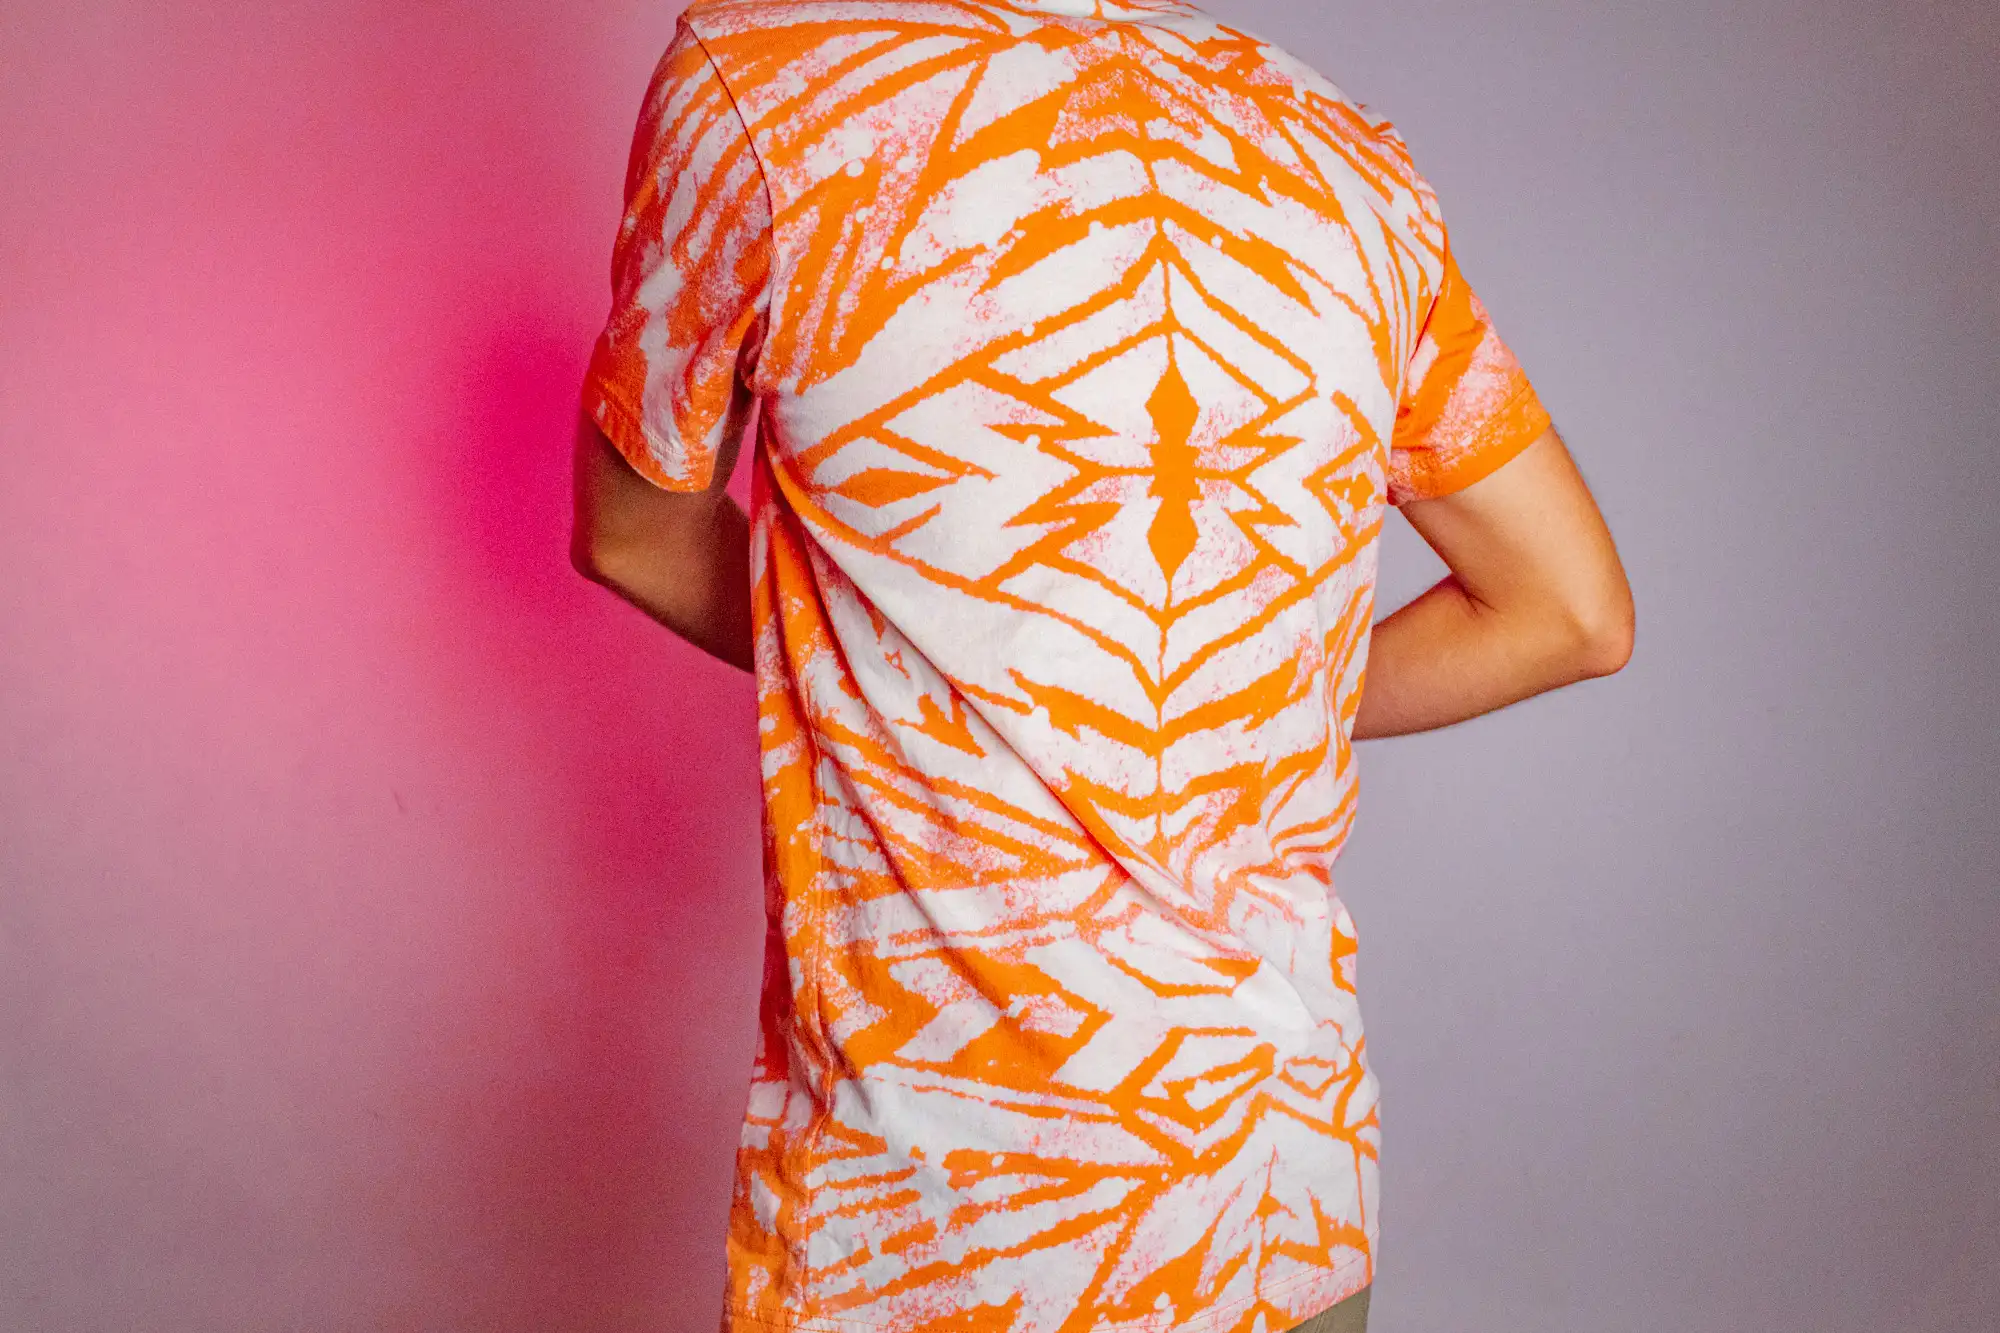
Lil Something Extra ;)
If you’re interested in owning one of these hopefully I still have some available in my shop HERE.
Overview of Tips for Creating Your DIY Bleach Shirt
Use Non-Absorbing Paper: ensures stencil durability.
Chemical-Resistant Sprayer: prevents bleach from damaging the sprayer.
Nitrile Gloves: protects your hands from bleach.
Use a Mask: stops you from breathing in bleach!
Cardboard Insert: prevents bleach from seeping through the shirt.
Cheers!